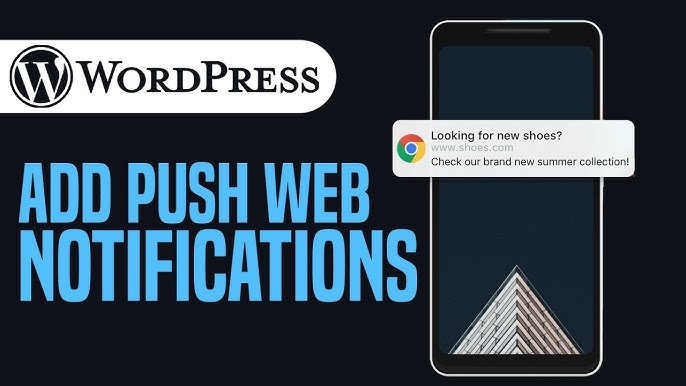
Push notifications are an excellent method to keep your visitors interested by sending real-time updates right to their smartphones. Whether you run a blog, an e-commerce site, or another online platform, implementing push notifications for notices on WordPress can help you enhance user retention and keep your audience updated. This post will bring you through the process of adding push notifications to your WordPress site in a human-friendly, easy-to-follow format.
What Are Push Notifications?
Push notifications are short texts that show on a user’s desktop or mobile device, even if they are not actively visiting your website. These notifications can alert consumers to new information, special discounts, and crucial announcements.
WordPress users can easily integrate this feature using a variety of plugins and tools.
Why Use Push Notifications on WordPress?
- Instant Communication: Notify your audience about blog updates, product launches, or critical site changes in real time.
- Increased Engagement: Push notifications have a higher click-through rate than email or social media.
- Audience Retention: Remind users to revisit your site with timely updates.
- Easy Setup: WordPress plugins make integrating push notifications simple, even for beginners.
Steps to Add Push Notifications to WordPress
Follow these steps to set up push notifications for notices on your WordPress site:
Step 1: Choose a Push Notification Plugin
There are several plugins available to add push notifications to WordPress. Some popular options include:
- OneSignal: A free and user-friendly tool with advanced customization options.
- PushEngage: Ideal for e-commerce websites, offering targeted notifications and analytics.
- Webpushr: Provides unlimited notifications for free and supports various platforms.
Step 2: Install and Activate the Plugin
- Log in to your WordPress dashboard.
- Navigate to Plugins > Add New.
- Search for your chosen plugin, e.g., “OneSignal Push Notifications.”
- Click Install Now and then Activate the plugin.
Step 3: Configure the Plugin Settings
Once the plugin is activated, follow these steps to set it up:
- Go to the plugin’s settings page from the WordPress dashboard.
- Register for an account on the plugin’s website (if required).
- Follow the instructions to integrate your WordPress site with the push notification service.
- For example, OneSignal requires an API key and App ID, which you can generate on their platform.
- Customize the notification preferences, such as:
- Notification title and message.
- Display icon or logo.
- Audience segmentation (e.g., desktop vs. mobile users).
Step 4: Create and Send Notifications
Once your plugin is set up, you can start creating and sending push notifications:
- Go to the plugin dashboard in WordPress.
- Click Add New Notification (or a similar option).
- Write a compelling message for your notice.
- Keep it short and to the point. For example, “🚨 New post alert: 10 SEO tips for 2024! Check it out now.”
- Set targeting preferences, such as audience, location, or device type.
- Schedule or send the notification immediately.
Step 5: Test Your Notifications
Always test your notifications to ensure they look and function as expected:
- Send a test notification to your device.
- Check the design, message clarity, and timing.
- Make adjustments as needed.
Tips for Effective Push Notifications
- Keep It Concise: Use short, engaging messages with a clear call to action.
- Timing Matters: Send notifications at optimal times to maximize engagement.
- Avoid Overloading Users: Too many notifications can lead to unsubscriptions.
- Personalize Your Messages: Use audience segmentation to make your notifications more relevant.
- Track Performance: Use analytics to monitor click-through rates and refine your strategy.
Benefits of Push Notifications for Your WordPress Site
- Improved user engagement.
- Increased traffic to new posts or product pages.
- Enhanced user experience with timely updates.
- Better communication of important notices, such as site maintenance or new features.
Conclusion
Adding push notifications to your WordPress site is an effective method to remain in touch with your audience. With the appropriate plugin and approach, you can easily notify users of new changes, drive traffic, and increase engagement. Whether you’re a new or experienced WordPress user, this function is a must-have for enhancing your site’s performance.